Brunch planning · picnic checklist
Brunch Picnic Menu Ideas
For a four-person brunch picnic, choose one cold anchor, two easy sides and a drinks plan: pack four filled wraps or grain jars, four pieces of fruit, four baked items and water in a separate bag. Chill the perishable food before packing, carry it in an insulated cooler with cold sources, and give each item a container and serving tool. This Pancake World plan is a practical starting point, not a universal portion rule.
Use the live brunch collection for broader menu reading. This page turns the picnic version into an executable plan: decide the group size, select a menu pattern that can travel, check cooler and carrying capacity, then work backwards from the time you expect to eat.
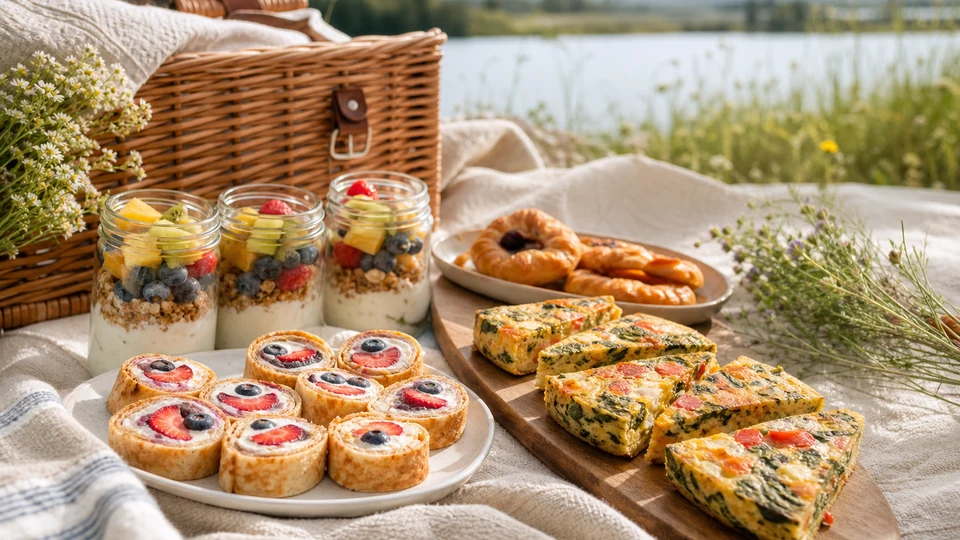
Direct picnic plan for four
Make the lunchbox-style menu the default: four savoury wraps, four fruit portions, four muffins or scones, and a water bottle per person. Put the wraps in shallow containers, fruit in its own box, baked goods in a dry bag, and drinks outside the food cooler. It limits lid-opening and keeps wet and dry components apart.
Guest-count and quantity checkpoint
Start with the actual number of eaters, not a vague crowd label. For each person, assign one savoury portion, one fruit portion, one baked or dry side, and a drink. For six people, that becomes six of each item; do not silently multiply a recipe whose labelled yield is different. A child, an early arrival, or a long walk may change the plan, so add an extra portion only after naming who it serves.
Pick one transportable menu pattern
The lunchbox pattern suits a bench or park blanket: wraps, fruit and a dry bake need little assembly. A jar pattern suits a short trip when chilled jars can stay upright. A shared-board pattern needs more clean serving tools and more protection from wind, so it is best reserved for a table and a shorter transfer. Choose one pattern as the anchor rather than packing several competing mains.
For a fruit-led companion idea, berry brunch is a live reading path. It does not replace the cold-chain and service decisions here.
Shopping list by role
Shop from a list divided into food, cold control, service and cleanup. Food: the chosen anchor, fruit, dry side and drinks. Cold control: a cooler, frozen or chilled packs, and containers that close. Service: napkins, a knife only if needed, a spoon for jar food, and a small serving tong for shared fruit. Cleanup: a rubbish bag and a way to keep used tools separate.
Equipment and carrying capacity
Before cooking, set out the exact cooler, containers and bag. The practical capacity question is whether the cold food can sit beside its cold sources without crushing the wraps or forcing the lid open. Put drinks in another bag when frequent access is likely. If the group is walking, reduce glass, loose platters and tall jars; a smaller menu that travels intact is more useful than a larger menu that cannot be carried safely.
The FDA’s produce guidance supports washing produce under running water and keeping it away from raw animal products during preparation. Use a clean container for ready-to-eat food rather than returning it to a surface used for raw preparation.
Timeline from departure to service
The night before, make the dry list, freeze cold packs if appropriate, and clear fridge space for prepared items. On the morning, prepare the anchor, cool or chill it as required, pack fruit and dry items separately, then load the cooler last. At departure, place the cooler where it will remain stable and close the lid. At the picnic, serve the cold food first and use clean tools. After the meal, handle leftovers according to the applicable official guidance rather than guessing from appearance.
Food-safety boundary for the menu
This is not a claim that any specific food is safe for every duration or condition. USDA FSIS provides current safe-minimum-temperature guidance for foods that need a verified cooking endpoint; use a thermometer and the applicable official endpoint for the food you make. For outdoor conditions, follow current official time-and-temperature guidance for the actual food and weather. Do not use smell, a taste, or an attractive appearance as a substitute for that guidance.
Service sequence at the blanket or table
First set a clean serving area. Next, put out napkins and hand the drinks bag to the person who will open it most often. Then take out only the food needed for the first serving, keeping the remaining chilled food closed. Serve the anchor, then fruit, then the dry side. This order avoids turning the menu into an exposed buffet and makes it clear which container should return to the cooler.
Contingencies that preserve the plan
If rain changes the location, keep the menu in closed containers and move to a table rather than unpacking on a wet surface. If the cooler is too small, remove the extra menu pattern instead of squeezing warm and cold components together. If a wrap leaks, use the spare container or serve it immediately rather than placing it beside dry baked goods. If clean water is unavailable, use a lower-contact menu and bring suitable cleaning supplies; do not assume outdoor conditions are equivalent to a kitchen.
Make-ahead boundary
Prepare only the components whose storage instructions and handling you can follow. Keep sauces separate where they would soften bread, and pack crunchy toppings separately. Do not present a make-ahead suggestion as an exception to package or recipe instructions. The menu works because each component has a known job, vessel and moment of service, not because every brunch item is automatically portable.
Final operational checklist
Before leaving, confirm: the guest count and each person’s savoury portion; one chosen menu pattern; fruit, dry side and drinks counted; cold food already chilled; cooler, cold sources and separate drinks bag ready; clean containers and serving tools packed; a stable carrying plan; a clean service surface and waste bag; and a contingency for weather, leaks or missing equipment. If any point is unknown, resolve it before departure.
Sources and editorial references
- U.S. Department of Agriculture Food Safety and Inspection Service, “Safe Minimum Internal Temperature Chart” —
https://www.fsis.usda.gov/food-safety/safe-food-handling-and-preparation/food-safety-basics/safe-temperature-chart - U.S. Department of Agriculture Food Safety and Inspection Service, “Food Safety at Home and Outdoors” —
https://www.fsis.usda.gov/food-safety/safe-food-handling-and-preparation/food-safety-basics/food-safety-home-and-outdoors - U.S. Food and Drug Administration, “Selecting and Serving Produce Safely” —
https://www.fda.gov/consumers/consumer-updates/selecting-and-serving-produce-safely - USDA MyPlate, “MyPlate Food Groups” —
https://www.myplate.gov/eat-healthy/what-is-myplate